
눈송이의 개발생활
[SpringBoot]MySQL & JPA 연동하기 본문
🌱 JPA란 무엇인가?
JPA는 자바 표준 ORM(Object Relational Mapping) 기술이다.
ORM 기술은 객체를 매핑하는 것이고 JPA는 인터페이스이다.
JPA는 서로 다른 패러다임인 객체 지향 프로그래밍 언어와 관계형 데이터베이스의 패러다임 일치를 시켜주기 위한 기술이다.
개발자가 객체지향 언어로 프로그래밍을 하면, JPA가 관계형 데이터베이스에 맞게 SQL을 생성해서 실행한다.
🌱 Spring Data JPA
- 인터페이스인 JPA를 사용하기 귀해 필요한 구현체(모듈) → Hibernate, Eclipse, Link 등
- JPA ← Hibernate ← Spring Data JPA
- Spring Data JPA 장점
- 구현체 교체 용이 : Hibernate 외의 다른 구현체(Link, Lettuce등)로 쉽게 바꿀 수 있음
- 저장소 교체 용이 : 관계형 데이터베이스 외에 다른 저장소로 쉽게 바꿀 수 있음. 의존성만 교체
🌱 1. 프로젝트에 의존성 추가하기
build.gradle에 다음과 같이 JPA와 MySQL 의존성을 등록한다.
dependencies {
    compile('org.springframework.boot:spring-boot-starter-web')
    testCompile('org.springframework.boot:spring-boot-starter-test')

    // 새로 추가하는 JPA, MySQL 의존성
    compile('org.springframework.boot:spring-boot-starter-data-jpa')
    compile('mysql:mysql-connector-java')
}
🌱 2. MySQL에서 DB 생성
https://dev.mysql.com/downloads/mysql/
MySQL :: Download MySQL Community Server
Select Operating System: Select Operating System… Microsoft Windows Ubuntu Linux Debian Linux SUSE Linux Enterprise Server Red Hat Enterprise Linux / Oracle Linux Fedora Linux - Generic Oracle Solaris macOS Source Code Select OS Version: All Windows (x86
dev.mysql.com
먼저 MySQL을 해당 사이트에서 다운받은 뒤, MySQL Command Line Client를 연다.
CREATE DATABASE TEST_DB
    DEFAULT CHARACTER SET UTF8;
테스트를 위해 TEST_DB 데이터베이스를 하나 생성한다.
TEST_DB내에 테스트용 테이블인 TESTUSER를 생성한다.
 CREATE TABLE TEST_DB.TESTUSER(
    USERNAME VARCHAR(200)
 );

🌱 3. application.properties에 DB 설정하기
src/main/resources 안에 application.properties라는 파일을 하나 생성한다.
다음 정보를 추가한다.
# MySQL 설정
spring.datasource.driver-class-name=com.mysql.cj.jdbc.Driver

# DB source url
spring.datasource.url=jdbc:mysql://localhost:3306/test_db?useSSL=false&useUnicode=true&serverTimezone=Asia/Seoul

# DB username
spring.datasource.username=<username>

# DB password
spring.datasource.password=<password>

# True : 콘솔에서 쿼리 로그 확인 가능
spring.jpa.show-sql=true

# Hibernate가 작동해서 콘솔로 찍히는 SQL의 가독성 높임 (예쁘게 formating)
spring.jpa.properties.hibernate.format_sql=true
다 추가하고 Application을 실행하면 정상적으로 실행되는 것을 볼 수 있다.
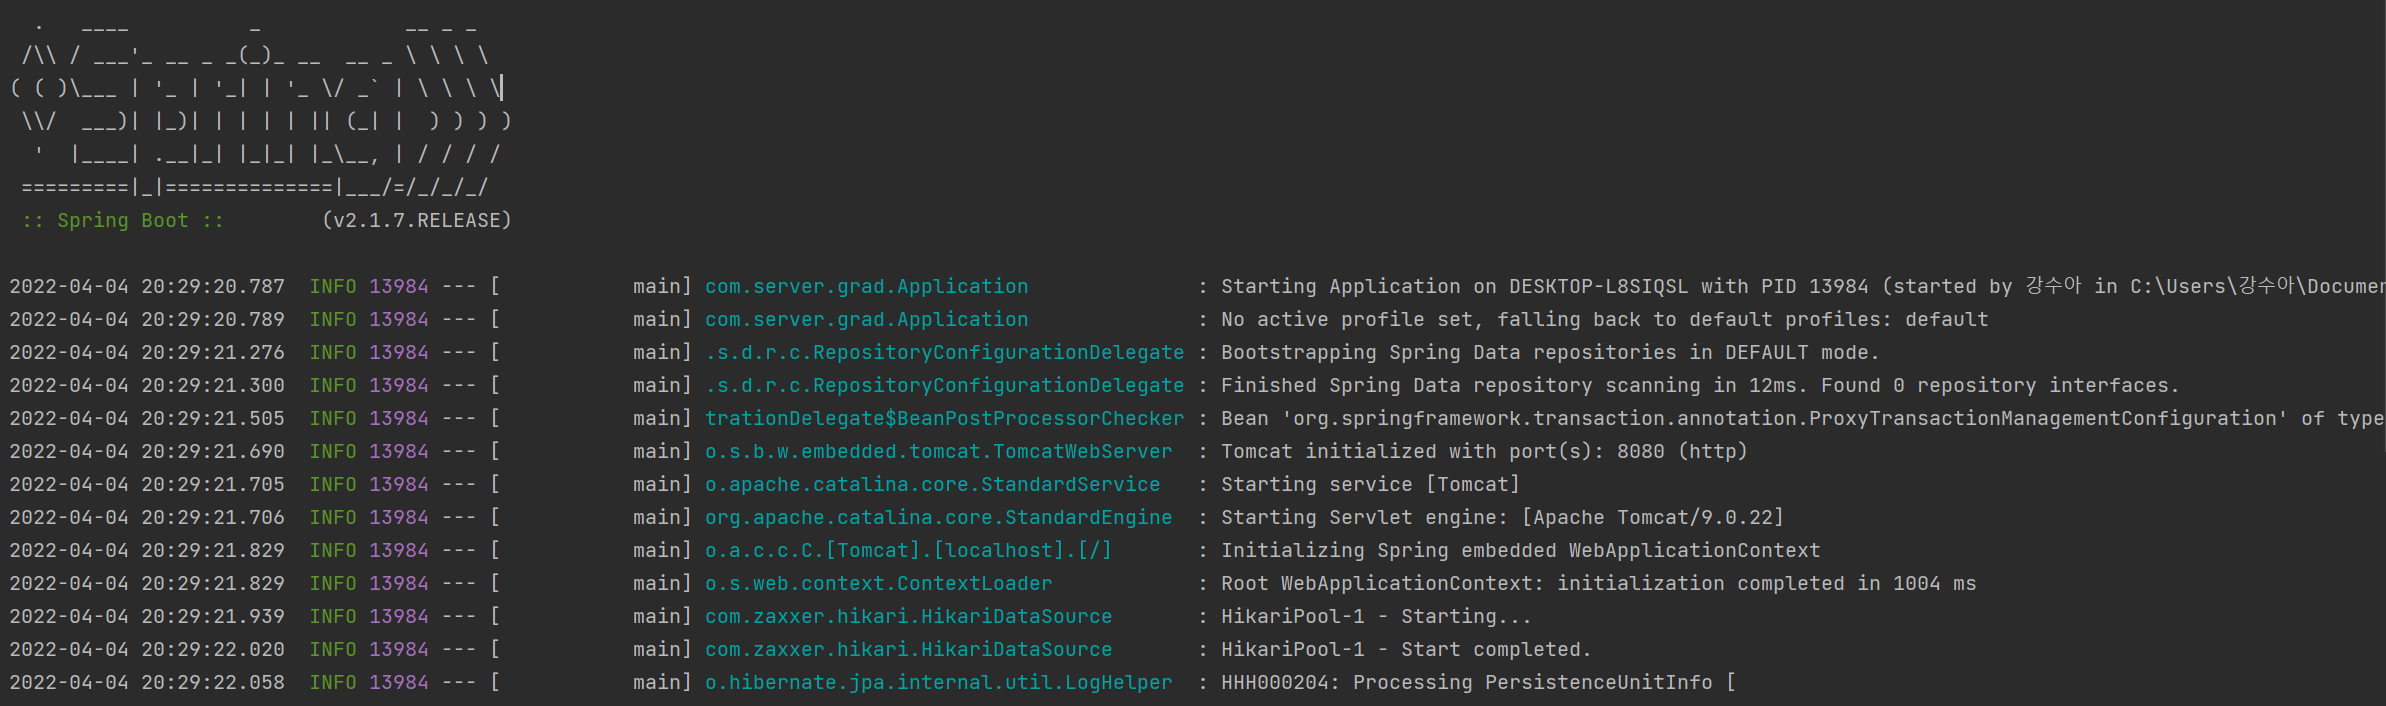
다음에는 MySQL을 이용해서 Test를 진행할 것이다!
'Server > Spring' 카테고리의 다른 글
| [SpringBoot]IntelliJ에 프로젝트 생성하고 Github 연동하기 (0) | 2022.03.30 |
|---|---|
| [SpringBoot]GDSC Toy Project(1) - JPA (0) | 2022.01.05 |

